Why Top Rope Solo?
Watch this short video that explains professional big wall climber Jordan Cannon's top rope solo system.
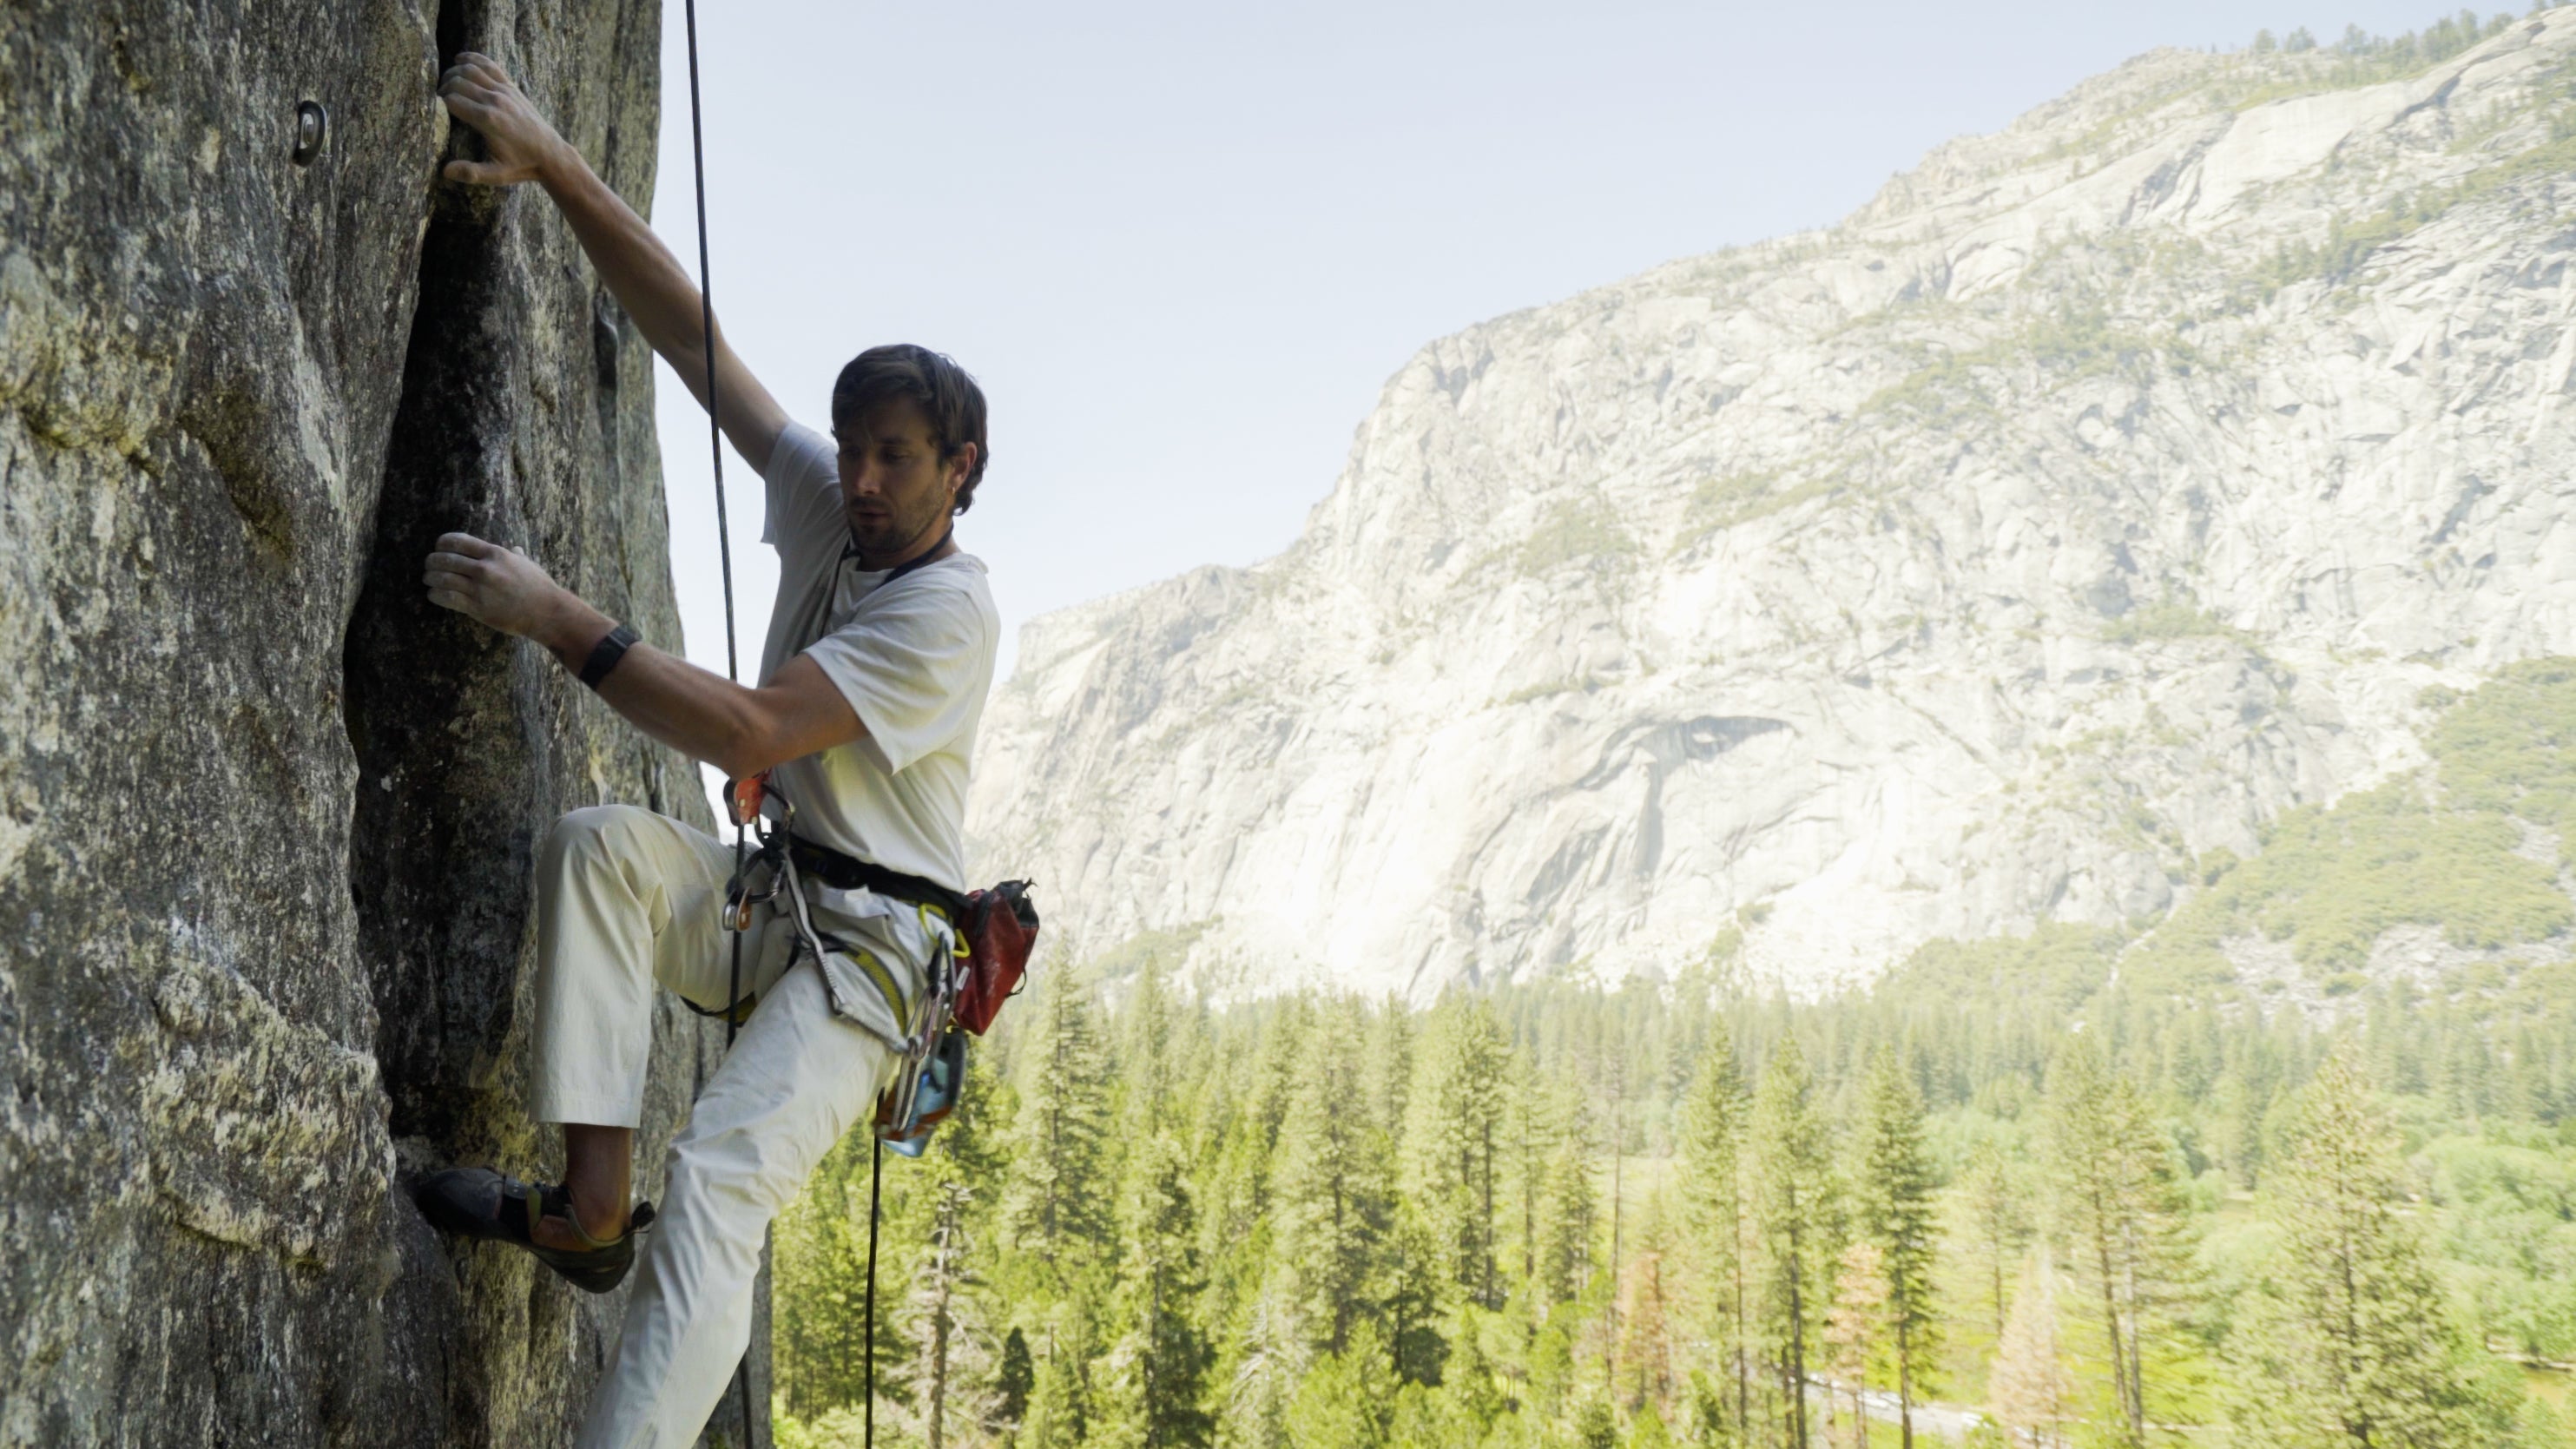
Top rope solo climbing is all about autonomy and practice. You get to climb alone, but with the safety of a top rope.
Top Rope Soloing in a Nutshell
First, the rope must be fixed to the top of the wall. You can scramble around to the top of the cliff or climb to a different route to get to the top, anchor, or tree.
Once the rope is fixed to the top of the route, you are using redundant progress-capturing devices to move up and ascend.
If you sit back, the devices catch and provide you with a steady belay.
Be sure to add weight to the bottom of the rope (like a water bottle, backpack, or rope coil) so that the devices auto-feed smoothly, and you can flow up the route unencumbered.
Top Rope Solo Pack List
The top rope solo pack lists for a day out alone include the following:
- 2 progress capturing devices on locking carabiners with anti-cross load features
- Neck Lanyard
- PAS for anchor transitions
- Ascender for mid-route transitions
- Rappel devices both for single-line and double-line rappelling.
The single-line device would be for going down the fixed line itself, and then the double-line device would be to clean the folded over rope when you are done with the pitch.
Progress Capturing Devices
The most common devices are the Camp lift, the Pencil Micro Traxion, and the Edelrid Spoc.
 |
 |

|
| Camp Lift | Petzl Micro Traxion | Edelrid Spoc |
Jordan likes to use the Camp Lift on top and a Micro Traxion below.
Two devices are mandatory because there are failure modes where a piece of fabric or some sling material could block the teeth that are grabbing the rope.
The teeth on the Micro Traxion or Spoc are not to be feared, as they simply engage the camming action of the rope grab, which is what pinches the rope and holds you in place.
The pulley type devices do feed quite a bit better, so there's less weight needed on the bottom of the rope for auto-feeding, but the lever type devices like the Camp Lift can't be blocked as easily.
Jordan just prefers to use one of each. A very standard setup would be a Lift on top and a Micro Traxion below, or a Micro Traxion on top and a Spoc below.
Both devices are attached with locking carabiners into the belay loop, but one device is specifically held upwards, making the fall smaller when you sit back on the rope, and to keep the devices spread apart so they don't interact in any counterproductive way.

Rope Management
To focus on the climbing itself, you really want the devices to be auto-feeding. In order for this to work, the bottom of the rope needs to be weighted in order for the devices to run smoothly.

The rope you use for top rope soloing could be static or dynamic. Static is a little bit easier to manage edge wear because there's not as much bounce going on if you were to fall.
Mitigating Rope Abrasion
A common question is whether a single rope strand is safe enough for top rope soloing.
In reality, the rope isn't redundant in most of our climbing, and it can be managed just fine for top rope soloing. As long as you re-fix or use rope protectors to avoid sharp edges on the route you are climbing.
Re-fixing is something you can do as you are lowering down the route. When you notice a sharp edge, simply tie a knot and fix the rope to a bolt or cam below the sharp edge.
Once you weight the system, the rope should no longer be pulled tight over the edge, bouncing and causing abrasion.
